Guardian™ 4 sensor support

Select the topic that fits your support needs:
Gather your supplies
Before you insert your sensor, gather all of your supplies:
- One-press serter is required in order to insert the sensor properly.
- Guardian™ 4 sensor is individually packaged and comes attached to a plastic pedestal which is necessary for proper loading into the serter.
- Oval Tape is required to keep the sensor securely in place.
- The Guardian™ 4 transmitter is connected after the sensor is inserted and is then covered with the Oval Tape.
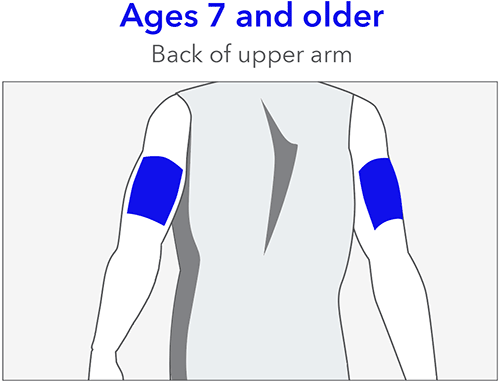
Choosing insertion site
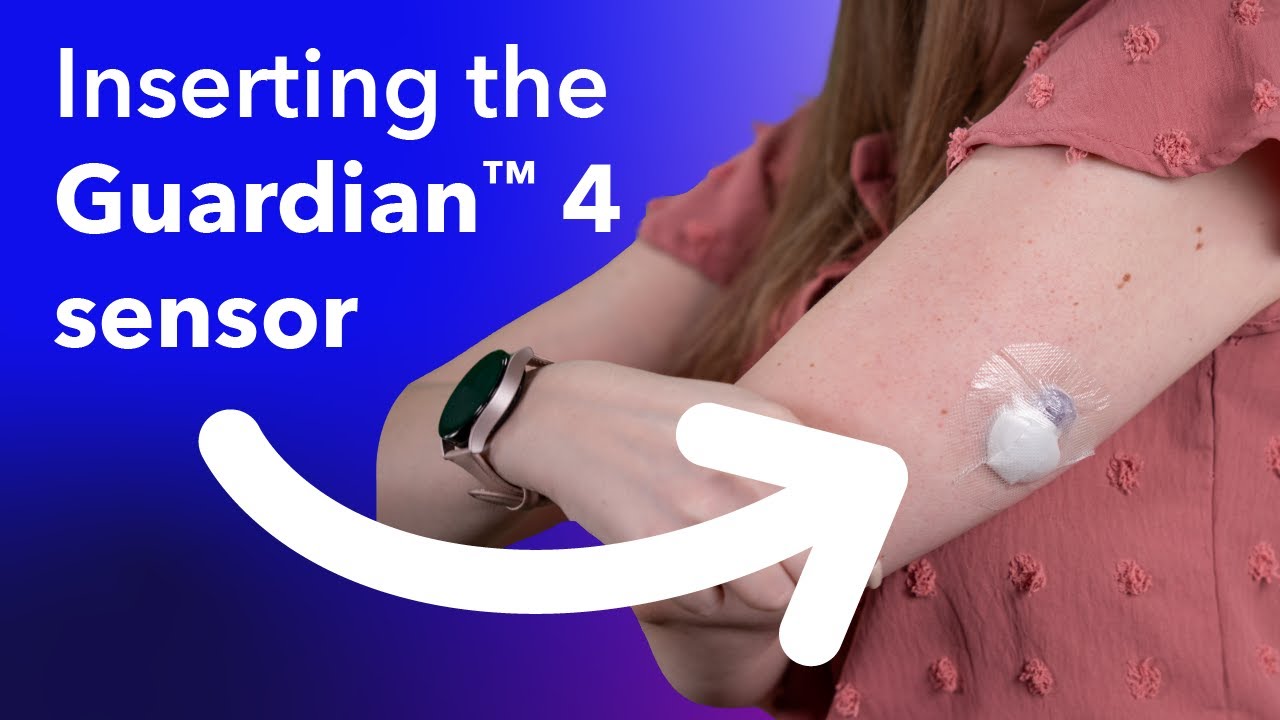
The Guardian™ 4 sensor is only approved to be worn in the back of the upper arm. There are two methods for inserting:
- Inserting by yourself
- Getting the help of a buddy to complete the insertion. This is often preferred by people who have trouble accessing the back of their arm easily.

Other important factors to consider:
- Sensor should be at least 1 inch away from your insulin pump infusion site
- Sensor should be at least 1 inch away from any manual insulin injection site (syringe, pen)
For best sensor glucose performance, avoid these sites:
- Where clothing may rub or constrict
- Where your body naturally bends a great deal and may cause the sensor to pull out
- Where you have scarred or hardened tissue or stretch marks
- Where there is a great deal of motion or friction
To help provide the best experience when it comes to sensor life:
- Insert the Guardian™ 4 sensor in its approved insertion site (back of the upper arm).
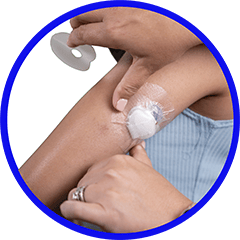
- After insertion, when removing the needle from the sensor, make sure to hold the base of the sensor firmly in place.
- During taping, use the two pieces of Oval Tape that come with your sensor. The first piece of Oval Tape covers the base of the sensor and holds it in place as you wear it, while the second piece helps keeps the transmitter secure. Additional over tape can also help keep your sensor secure, especially if you’re active or live in a humid climate, so don’t be afraid to add extra tape on top if you need it!
Top 5 continuous glucose monitor (CGM) tips
How long your sensor lasts can depend on many factors, and we know things happen in day-to-day life! Here’s what you can do to help your Guardian™ 4 sensor last:
- Find your sweet spot: The Guardian™ 4 sensor is designed and approved to only be worn on the back of the upper arm, which makes it the perfect spot for optimal sensor performance and longevity. So, make sure to stick with this location for the best experience! Don’t forget to choose a flat area on the back of your upper arm where you can “pinch an inch” that’s also free of scar tissue.
- Prep the skin: Before sensor insertion, it's important to prep your skin properly. Clean, dry skin is key. Some soaps have oils that can interfere with adhesive sticking, so give the area a quick wipe with an alcohol swab. And remember, let it dry completely before inserting the sensor!
- Get it to stick: After insertion, when removing the needle from the sensor, hold the base of the sensor firmly in place to prevent any movement that could impact performance. Don't forget about the two pieces of Oval Tape included with your sensor kit. One covers the base, and the other helps secure the transmitter. Feel free to add extra tape if you're extra active or live in a humid area.
- Don't worry if Sensor Updating appears! This is a safety feature that's most likely to happen on the first day. There's nothing you need to do unless your pump alerts you. Most of the time, it resolves on its own in an hour. But if it lasts for more than 3 hours, change the sensor and request a replacement.
- Use your resources: If you’re looking to dive deeper, you’ve come to the right place. Need a refresher on how to insert your sensor? Check out this step-by-step instructional video or this one-handed arm insertion video from our very own Ambassador, Rob Howe. Getting help from a friend? This video is the one for you. Need handy hints for making sure your sensor stays put? This Tape Tips Guide can help. The support page you’re on also has loads more info and assistance for all things related to your sensor; make sure to check it out.

Inserting the Guardian™ 4 sensor with a buddy
Here are some helpful tips that can help your sensor’s longevity and performance. You can also download this helpful step-by-step guide.
- Choose an insertion site on the back of your upper arm that’s free of scar tissue.
-
Prep the skin using an alcohol wipe and let your arm completely dry before inserting.

-
After insertion, when your buddy helps you remove the needle housing, have them hold the base of the sensor firmly in place to prevent any movement.

-
Always use both pieces of Oval Tape as the product instructions direct. The first piece covers the base of the sensor (before you connect the transmitter) and holds it in place as you wear it, while the second piece helps keep the transmitter secure.
-
Additional tape on top of the Oval Tape can also help keep your sensor secure, especially if you’re active or live in a humid area.

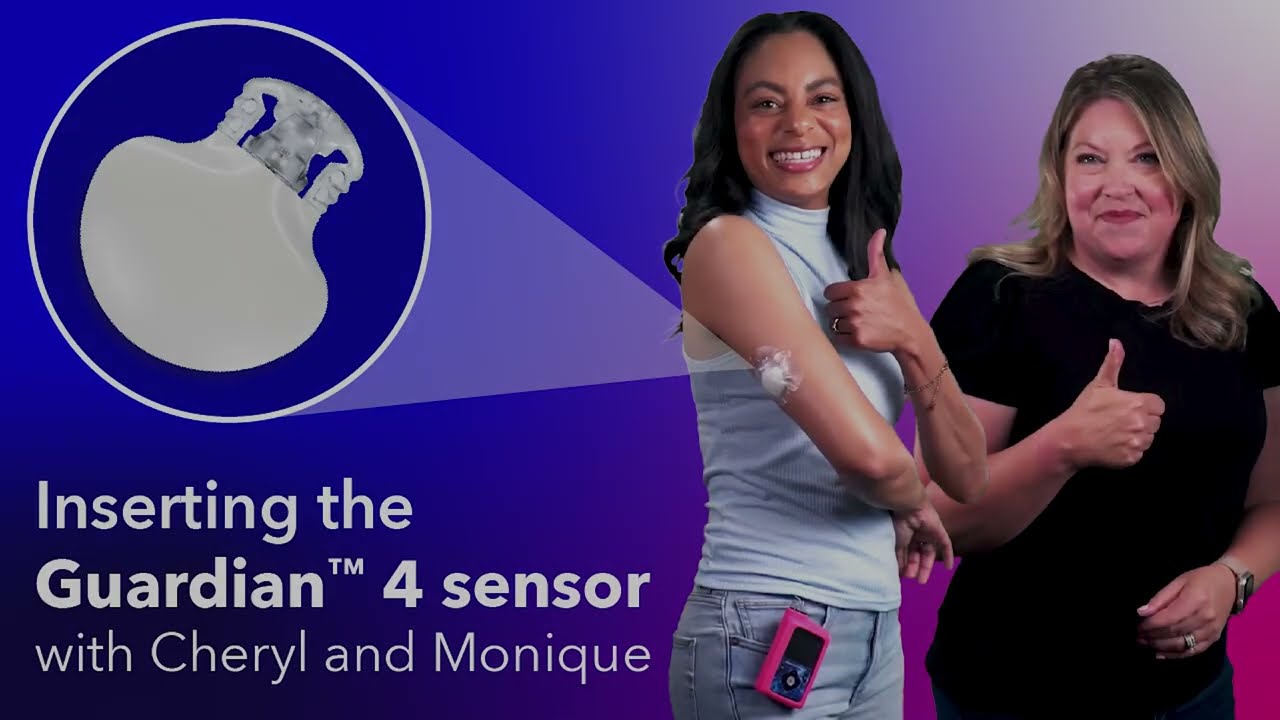
Want to see these steps in action?
Watch this video as Cheryl and Monique guide you through an insertion of the Guardian™ 4 sensor if you prefer receiving help form someone else.
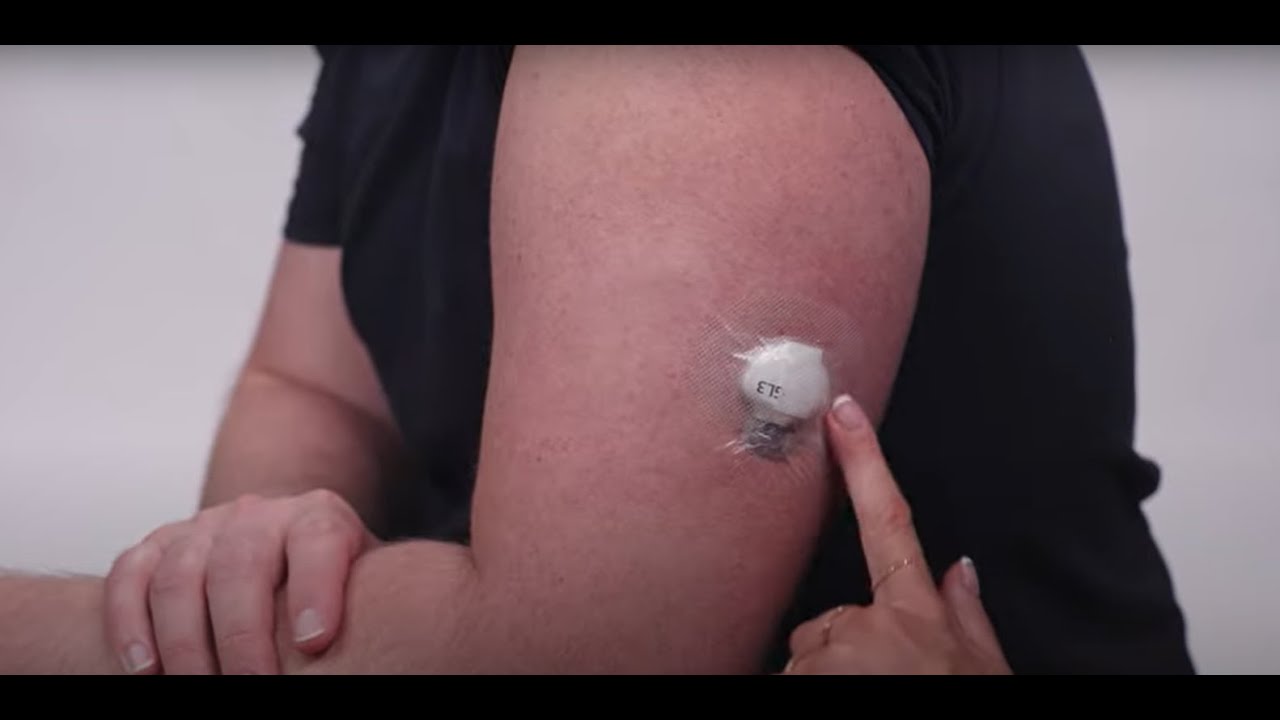
Want to see the full insertion process?
Watch this video for the full process on how to insert your sensor on the back of your arm with the help of a buddy.
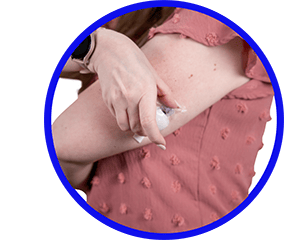
Inserting the Guardian™ 4 sensor yourself
If you're inserting the sensor on your own, the following tips can help you get the best performance and longest wear.
- Choose an insertion site on the back of your upper arm that’s free of scar tissue.
- Prep the skin using an alcohol wipe and let your arm completely dry before inserting.
-
After insertion, remove the needle housing by gently holding the base of the sensor against the skin to prevent any movement. Then, remove the needle by holding the needle housing and slowly pulling it straight out, away from the sensor.

-
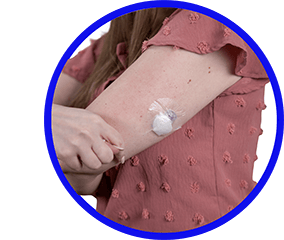
Next, remove the adhesive liner from under the adhesive pad and secure the sensor in place.

-
Place the first piece of Oval Tape.

-
Connect the transmitter and remove the adhesive backing from the white adhesive tape to cover the transmitter.
-
Place the second piece of Oval Tape in the opposite direction of the first.
-
Feel free to add extra tape on top of your Oval Tape if you're active, live in a humid area or just like a little added security.

Want to see these steps in action?
Watch this video for tips on inserting your sensor on the back of your arm.
Guardian™ 4 sensor insertion with Rob Howe
Watch this video as Rob guides you through the proper Guardian™ 4 sensor insertion process in three main parts.

Want to see the full insertion process?
Watch this video to learn how to insert the sensor, attach the transmitter, and successfully secure with Oval Tape.

Taping your sensor
Select the best sites
- Insert your sensor and infusion sets in their approved locations. If you use the Guardian™ 4 sensor, wearing it in the back of the upper arm plays a big part in providing the best possible experience.
- Keep the site secure by selecting a spot that is flat, doesn’t have scar tissue, and won’t interfere with summer clothing.
Secure your sites
- Avoid using lotions, creams, or aerosols (like sunscreen), until after insertion and taping are done, as this may make it harder for the adhesive to stick.
- Help the adhesive better stick to your skin by preparing your site with alcohol.
- After insertion, when removing the needle from the sensor or infusion set, hold the base of the sensor down with two fingers so that it stays in place.
- Consider an additional piece of tape if you find that you’re sweating more, or summer clothing has your sites more exposed. For your CGM, first apply the two pieces of Oval Tape as directed, and then add the additional piece of overtape on top.
Review this Tape tips and site management guide.
Go to Diabetes.shop for alternate tape options.
Pairing your Guardian™ 4 sensor and transmitter to your MiniMed™ 780G insulin pump
Before you can start using your sensor, you must first pair your pump with your transmitter so they can begin communicating with each other when they are wirelessly connected.
You can pair only one transmitter with your pump. If you already have a transmitter paired with your pump, you must delete it before continuing.
To pair your pump and transmitter:
Attach your transmitter to the charger and make sure the transmitter is fully charged. Keep your transmitter attached to the charger.
Note: Both lights on the charger are off when the transmitter is fully charged. For more information, see the transmitter user guide.

- From the Home screen, Press
 , then select
  .
. Place the transmitter (still attached to the charger) next to the pump.

Select Pair New Device and immediately remove the transmitter from the charger.


The following events happen when the search process starts:
- On the pump, the Searching…screen appears
- On the transmitter, the light flashes 10 times and turns off
The Select Device screen appears with a list of available devices.
Select the CGM device that matches the serial number indicated on the back of the transmitter.


If the correct serial number does not appear, select Search Again.
- If the connection is successful, a “Pairing successful!” message appears on the pump. When the transmitter is communicating with the pump, the sensor feature is turned on and
 ,appears on the Home screen.
If your pump does not find your transmitter:
- Select OK on the Device not found alert. The Select Device screen appears.
- Confirm that the device is not already paired with a pump.
- Confirm that the device is ready to pair with the pump.
- Make sure the pump is away from any electronic devices that might cause interference, such as cellular phones and other wireless devices that are not paired with the MiniMed™ 780G system and other wireless devices.
- Move the device closer to the pump.
- Try to pair the pump with the device again.
Starting your sensor
After the sensor is inserted and paired with the transmitter, the pump will display a Start New Sensor screen.
To start a new sensor:
Select Start New Sensor when it appears on the pump screen.

- The “Sensor warm up X:XX hr” message appears.
Note: It may take up to five minutes for the “Sensor warm up X:XX hr” message to appear. The warm up period lasts two hours. Select OK.
The “Sensor warm up...” message appears on the Home screen until the sensor warm up is complete. After the warm up is complete, the pump begins receiving SG readings.
Sensor updating alert
What does it mean?
The Guardian™ 4 sensor constantly monitors the health of the sensor to ensure it's reliable for use. Now that the system is free of calibrations, additional safety checks have been put into place. As a result, the Sensor updating alert may occur when the system is confirming the reliability of the sensor.
What action should you take if Sensor updating occurs?
Most sensors resume normal function within 1 hour, so there is no need to take action unless recommended by the system.
Have you had the alert for more than 3 hours?
In the event that the updating lasts for more than 3 hours, the recommendation is to replace the sensor to maximize time in SmartGuard™ technology.* The alert will only repeat if the estimated time given was incorrect.
Check out this video that goes over the Sensor updating alert in more detail.
Order a replacement sensor.
Unpairing a transmitter from your pump
Only one transmitter can be connected (or paired) to the pump at one time. In order to connect a new transmitter, you will need to unpair the current transmitter.
From the Home screen, Press
, then select . The Paired Devices screen appears. 
Select CGM with the correct serial number. The Device Info screen appears.

Select Unpair. The Unpair Device? screen appears.

Select Yes to confirm or select No to cancel.
When the transmitter is unpaired from the pump, a No Paired CGM banner appears on the Home screen.
Disconnecting the transmitter and removing your sensor
When your sensor life is depleted you will need to remove your sensor to insert a new one.
- Carefully remove the tape and any additional adhesive from the transmitter.
- Remove the adhesive tab from the top of the transmitter.
- Hold the transmitter with one hand and pinch the flexible side arms of the sensor with the thumb and forefinger of your other hand.
- Gently pull the transmitter away from the sensor.
- Pull the sensor away from your body to remove it.
- Dispose of the sensor properly, in a sharps container.
- Place the transmitter on the charger.