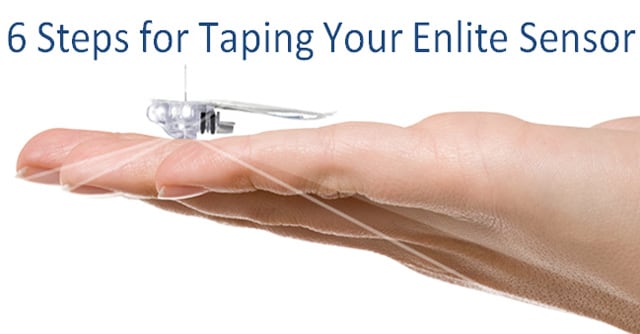
6 steps for taping your Enlite sensor

Properly applying your EnliteTM overtape plays a key role in helping keep your sensor in place. Just as important, your EnliteTM overtape should be applied after the sensor is inserted, but before connecting the transmitter to the sensor. These 6 steps walk you through applying your sensor overtape to help reduce transmitter movement and protect the sensor and transmitter connection.
Step 1: Prepare the Overtape

Remove the larger protective white paper from the EnliteTM overtape backing.
Step 2: Place the Overtape

2A: Hold the overtape 2B: Apply the adhesive to the rounded part of the sensor and the skin 2C: Stretch the overtape around the connector so that it lays flat against the sensor’s adhesive pad
Step 3: Secure the Overtape

Remove the protective white paper from the sides of the overtape, and smooth the adhesive to the skin. Apply firm pressure for several seconds (a minimum 5 seconds) to ensure the sensor stays properly aligned in the skin layers.
Step 4: How the Overtape Should Look

4A and 4B show the EnliteTM overtape securely holding the sensor in place. For the best adhesion results, reapply firm pressure for several seconds across the entire overtaped area.
Step 5: Connecting the Transmitter

5A: Connect the transmitter to the sensor. 5B: Wait for the transmitter to flash.
Step 6: Adhering the Transmitter

Remove the adhesive liner and place the adhesive flap over the top of the transmitter. It’s important you do not stretch the adhesive flap during this process.
Sometimes during wear, the adhesive pad beneath the transmitter may loosen. Sensor movement or pullout is one of the leading causes of inaccurate readings. Here are a few other options for applying additional tape that may help reduce transmitter movement. You should always be sure to regularly check your sensor site to ensure the overtape is holding the sensor securely on your skin.
Enlite Overtape Enhanced Taping Method

The front section of the EnliteTM overtape should be centered on top of the transmitter, while the back section sits entirely on your skin. Press firmly down on the adhesive, for best results.
Tegaderm

Option 1, Option 2, Option 3 IV3000

Option 1, Option 2, Option 3
For a live demonstration on enhanced EnliteTM taping methods, you may find this video helpful. Do you have any questions about taping your EnliteTM sensor? Let us know in the comments below!


